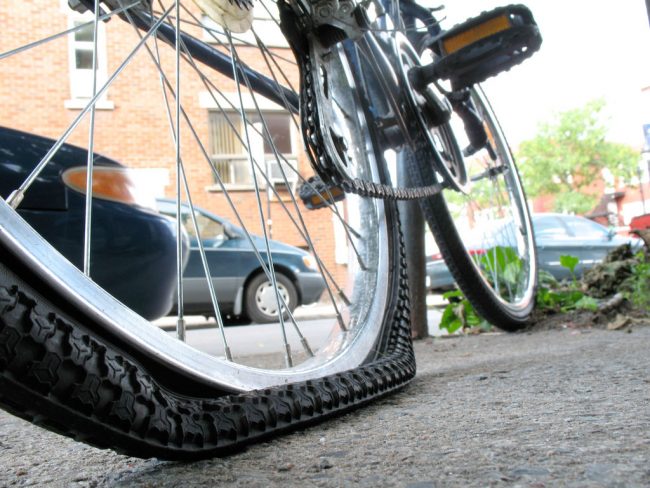
The disadvantage that is most often needed when cycling, training or hiking is drilling an air chamber. Unfortunately, if you do not have the right tools and knowledge to repair the damage, you may have to go back home by foot.
On the market, however, there are several repair kits for a broken tire that in a short time allow you to restart pedaling. These kits can be easily secured to the bike or placed in a backpack because they are usually small.
A complete kit is made up of:
- Extraction tool
- New air chamber
- Patches for air chamber
- Fast-acting mastics
- Sandpaper
- Compressed air bottle
- Traditional pump for hand inflating
- Multitool
Let’s see the procedure to follow if the damage involved the rear wheel.
To remove the wheel and change the air chamber you will need to remove the sprocket pack and unhook the brake shoe cable. So you have to unlock the quick release that fixes the wheel to the chassis using the multitool to loosen the bolt.
At this point, you can pull the wheel and proceed to the complete deflation of the air chamber (if it is not already completely down). Using the extraction tool, the tire is removed from its seat.
You will then have to extract the air chamber and check where the drilling point is. Once identified, with the sandpaper rubs the point by creating a rough surface on which the adhesive may adhere. The patch should be positioned accordingly so as to completely cover the hole.
Once repaired, the air chamber can be slightly swollen and repositioned in its seat. The tire will be reinserted in the rim in the same way, and the air chamber can be completely swollen.
Obviously, if you have a new air chamber available, you can proceed directly to the replacement.
Therefore, you must reassemble the wheel in its place, paying attention to the pinion and the chain. The wheel must be secured back to the chassis by fastening the quick release and the brake in the right place.
